Decadent Dessert Recipe + Tools
Once I finally mastered salted caramel — and the vanilla-bean version that followed — I was ready to experiment. Caramel and chocolate together just made sense.
I actually went through a phase of trying to add everything to caramel — vanilla, cinnamon, chocolate, blueberries, blackberries, strawberries. I tested different kinds of sugar, which led to one happy accident I’ll share another day, and tried every type of milk or cream I could think of. Some versions turned out beautifully; others, not so much. A few I’ll try again with a few tweaks. One I’m especially determined to master because my husband’s EOE means no dairy, and he loves caramel too.
I love little kitchen science experiments — they make me feel like a kid discovering something new and delicious to share with my family. I even use glass beakers and a stir stick sometimes, because yes… I’m that kind of nerd. That’s the fun of kitchen alchemy: even the flops teach you something worth tasting.
I always use raw sugar for my caramel. It melts a little slower, but the payoff is that deep golden color and hint of molasses that gives the sauce more depth. Dutch-process cocoa keeps the chocolate smooth and mellow, without the sharp edge of natural cocoa. A sprinkle of black lava salt at the end adds both contrast and a subtle mineral finish.
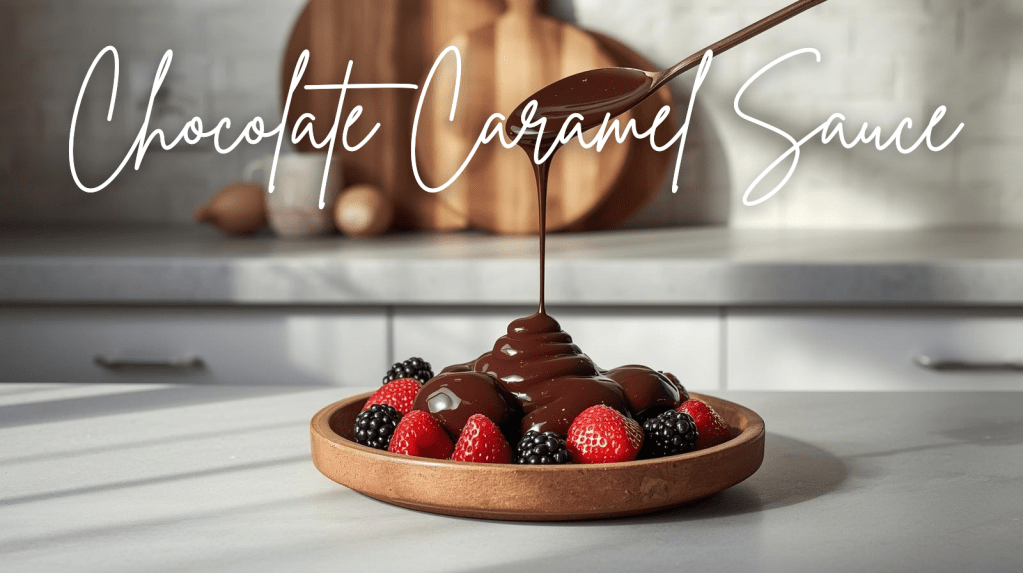
It’s thick — the kind of sauce that clings to a spoon and needs a little warming if you want it to drizzle freely. I love it that way. It’s rich, dark, and almost fudge-like — decadent enough for Halloween night but cozy enough for an ordinary Tuesday.
🪄 Before You Start
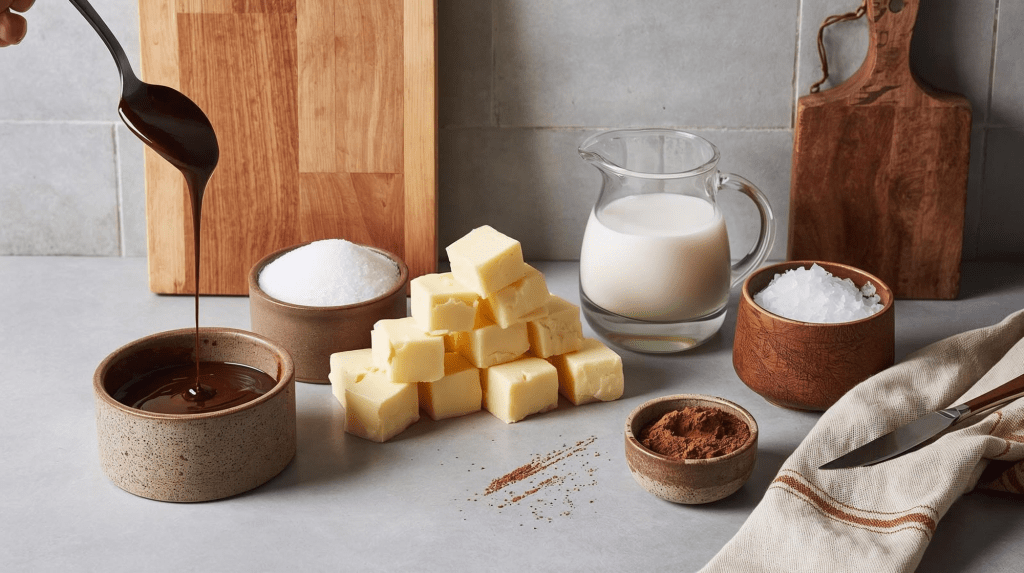
I like to have everything measured and ready before I turn on the stove. Caramel moves fast once the sugar starts to melt, so it helps to prep like a little kitchen scientist:
Measure out the cream, cube the butter, and portion your cocoa. Let them all sit out for a few minutes to take the chill off. I always measure the sugar into the pan last — it gives the other ingredients time to warm slightly.
Unlike pie dough, where you want the butter ice-cold to keep the layers flaky, caramel behaves best when everything is closer to room temperature. That way, when you add the cream and butter, you won’t shock the caramel or cause it to seize.
I use the dry method for this recipe — just sugar in the pan, no water. While the sugar begins to melt, I whisk the cocoa into the cream so it’s smooth and ready to pour when the moment comes.
🧂 Ingredients
1 cup raw sugar (about 200 g)
6 Tbsp unsalted butter, cut into cubes (about 85 g)
½ cup heavy cream (about 120 g)
2 Tbsp Dutch-process cocoa powder (15–20 g) — whisked into the cream before heating*
Pinch of black lava salt (or sea salt, if preferred)
*Ratio note: For each cup of sugar, use roughly 2 Tbsp (≈10%) cocoa powder. Increase to 3 Tbsp for a darker, more chocolate-forward flavor.
🍯 Directions
Whisk together the cream and cocoa and set aside.
In a heavy-bottomed saucepan, melt the sugar over medium heat until it turns deep amber.
Stir in the butter — it will bubble and hiss, so be careful.
Slowly pour in the warm cream-and-cocoa mixture, whisking constantly. Let it simmer for 1–2 minutes until smooth and glossy. Remove from heat; whisk in a pinch of black lava salt while the caramel is still hot. Let cool slightly before transferring to jars. Sprinkle an extra pinch of salt over the top before sealing for that striking black contrast.

🍨 How to Use It
Drizzle over brownies or ice cream. Swirl into hot cocoa or coffee. Spoon over cheesecake or fruit. Serve on a reclaimed wood board with fresh fruit and marshmallows for a cozy fall treat.
🔧 Tools I Love
✅ Heavy-bottom Saucepan – the workhorse of every caramel batch. I use a practical one, but I dream of the All-Clad Copper Core.
✅ Silicone Spatula Set – heat-safe, flexible, and perfect for stirring without scratching.
✅ 3-Piece Glass Beaker Set – because I’m a kitchen-science nerd and love measuring in style.
✅ Digital Candy Thermometer – takes the guesswork out of that perfect amber stage.
✅ Mini Stoneware Ramekins – ideal for dipping, tasting, or serving small portions of sauce.
✅ Wide-Mouth Weck Tulip Jars – beautiful for storage, gifting, or spoon-ready fridge treats.
✅ Reclaimed Wood Charcuterie Boards – handmade in our shop and the perfect rustic backdrop for dessert spreads.
🛒 Shop the Post
These are the exact ingredients and tools I use for my Fudgey Chocolate Caramel Sauce — plus a few dream upgrades. Each one helps make the process smoother, easier, and a little more beautiful.
🍫 Essentials
- Valrhona Dutch-Process Cocoa Powder
- Black Cocoa Powder (Alternative)
- Organic Raw Cane Sugar
- Hawaiian Black Lava Sea Salt
🍯 Tools
- Digital Candy Thermometer
- Silicone Spatula Set (Neutral Tones)
- 3-Piece Glass Beaker Set
- Heavy-Bottom Stainless Saucepan
- All-Clad Copper Core Saucepan (Dream Pick)
🍨 Serving & Storage
Disclosure: This post contains affiliate links. I may earn from qualifying purchases at no extra cost to you.
🔗 Related Recipes
Homemade caramel can feel intimidating, but once you understand how sugar behaves, it’s surprisingly simple and fast. Start with salted caramel, move on to vanilla-bean, and then this chocolate version — it’s rich, glossy, and full of cozy flavor. Perfect for gifting, stirring into warm drinks, or sneaking by the spoonful when no one’s looking.
Author’s Note:
Each caramel recipe feels like its own little season — the vanilla is soft and classic, the chocolate deep and steady. Together they remind me that comfort doesn’t have to be complicated; it just has to be made with care.
Part of the Sweet Treats series — small, timeless recipes meant to bring warmth back into the kitchen and a little sweetness to everyday life.


Leave a comment